
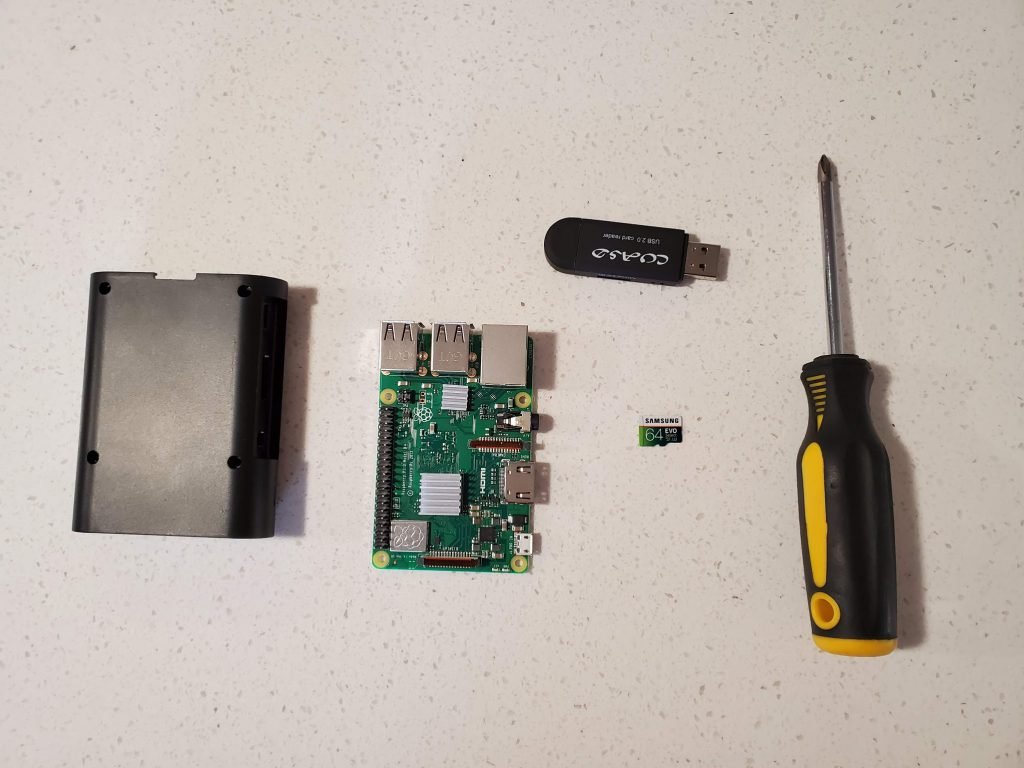
- Gather Materials
- Raspberry Pi 3
- Pi Heat Sink (included in above kit)
- Raspberry Pi Case (included in above kit)
- Power Supply (included in above kit)
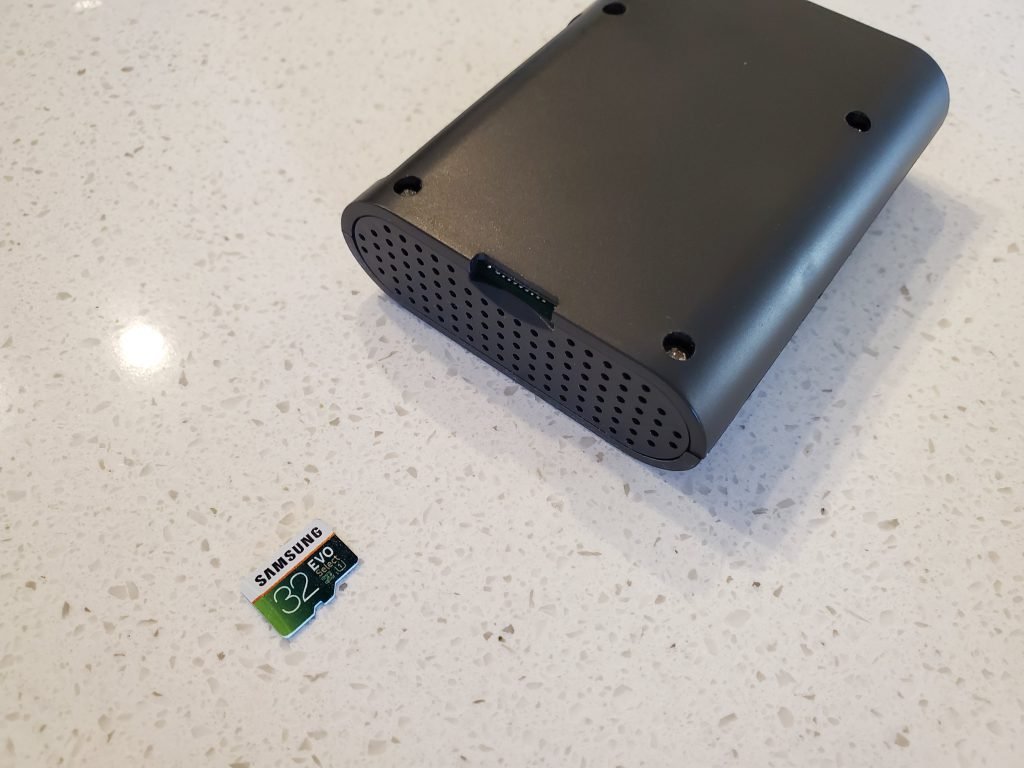
- MicroSD Card (minimum 32gb)
- MicroSD to USB reader
- Build your new raspberry pi
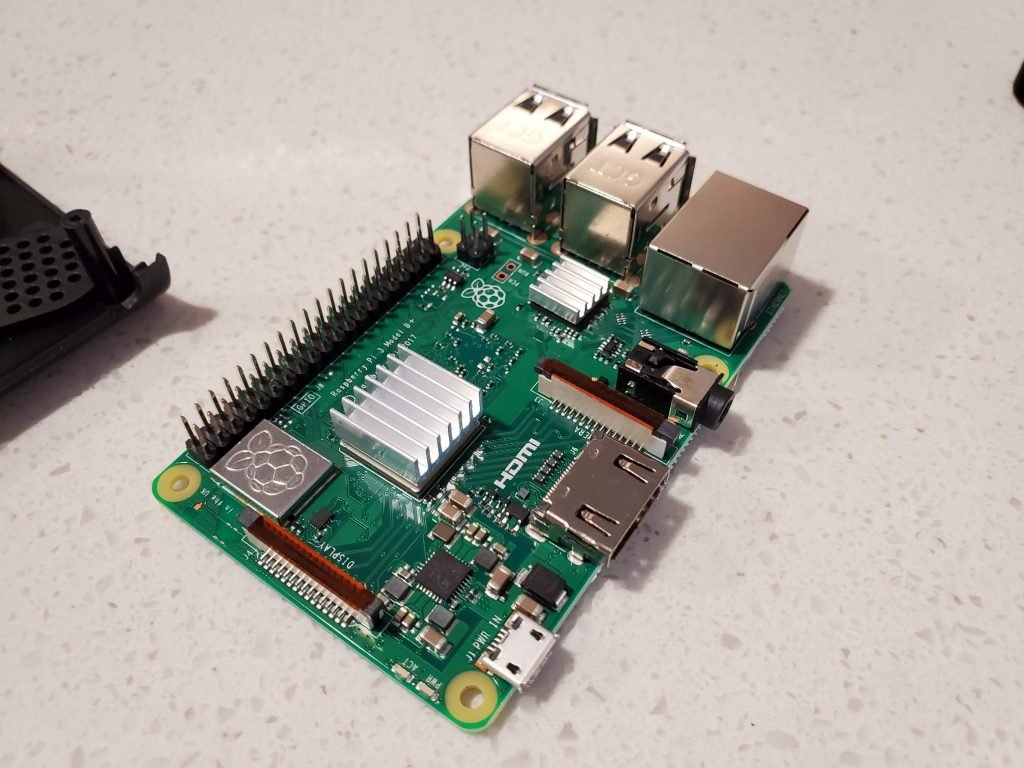
Install Heat Sink 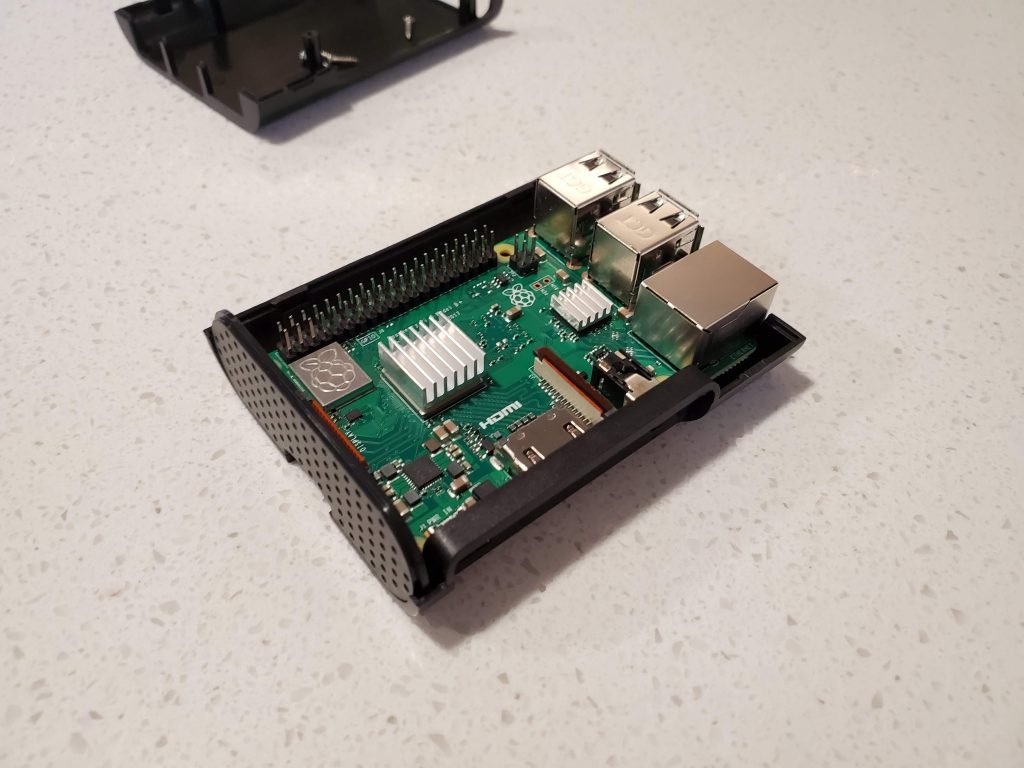
Install Board into your Case 
Assemble Case 
Screw everything together
- Download Hassio for the Raspberry Pi 3
Noteif you are using a different Pi, find your download on Home Assistant’s Hassio Page) - Download and install the latest version of balenaEtcher
- Plug your new microSD card into your computer using your adapter
- Open balenaEtcher

7. Click “Select Image” 
8. Navigate to your new file:
hassos_rpi3-#.##.img.gz
9. Click “Select Target” 
10. Select your new SD card 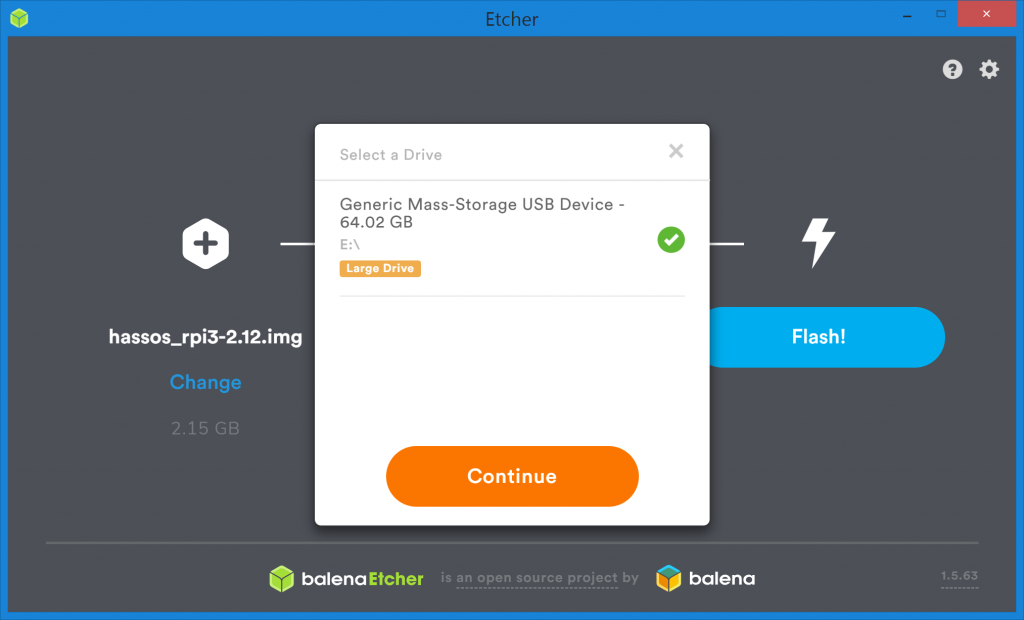
11. Click “Continue” 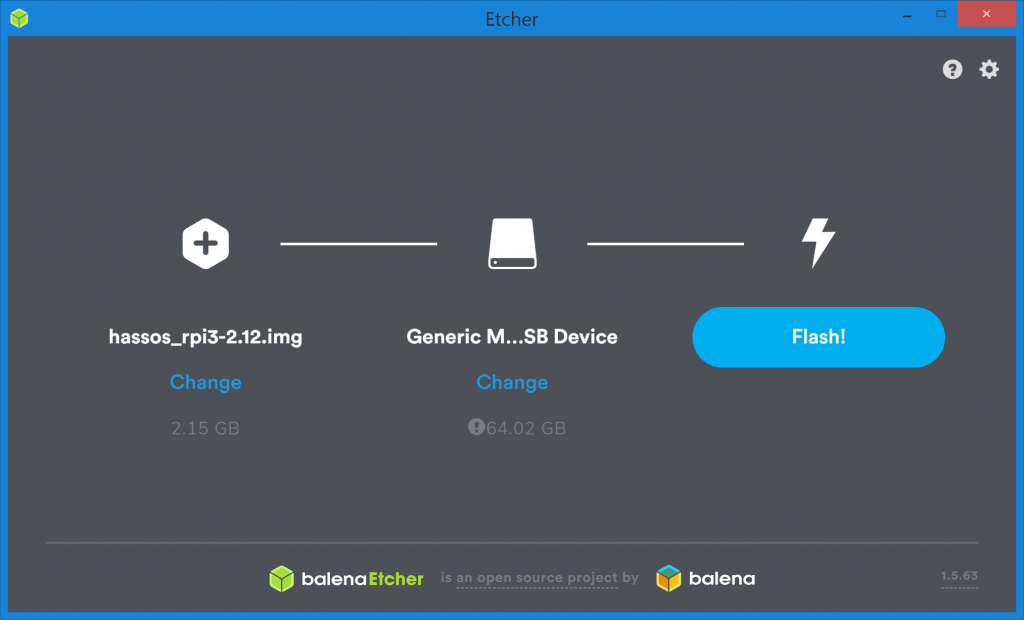
12. Confirm everything, Click “Flash!” 
13. wait 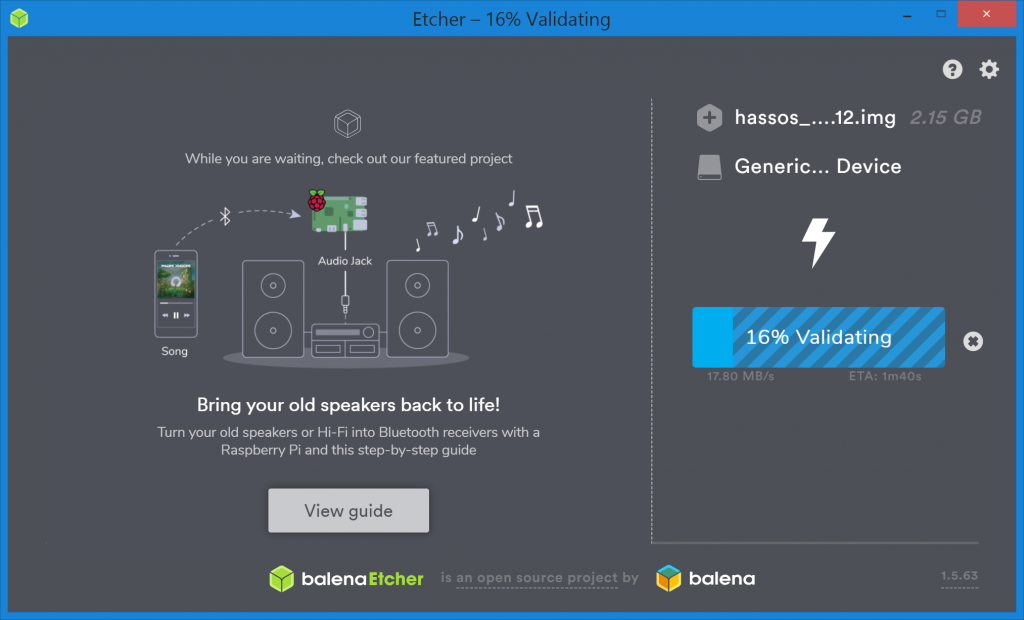
14. keep waiting 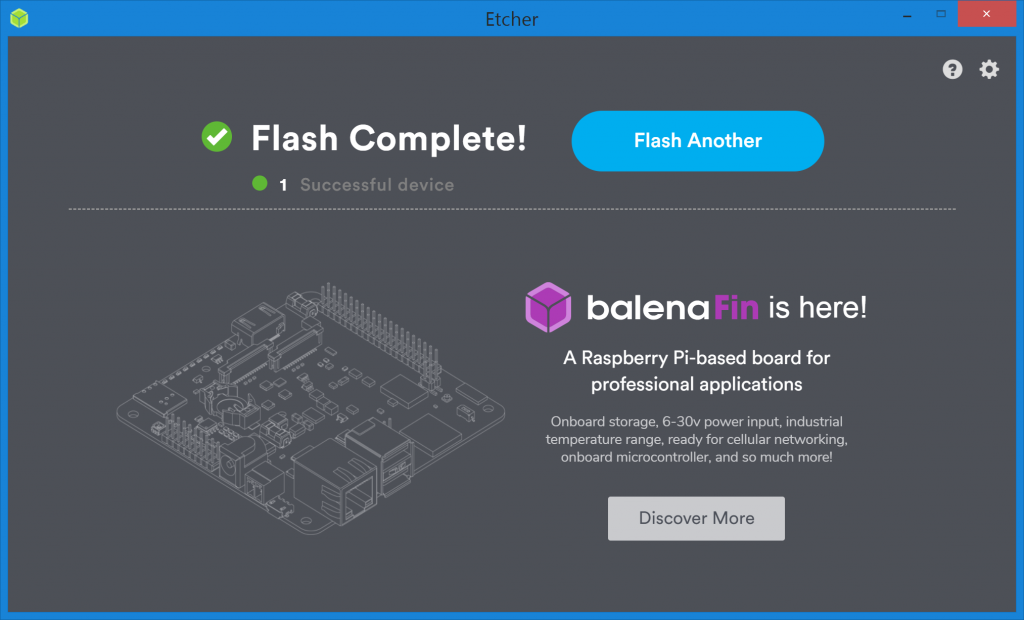
- Your SD Card is now ready! If you plan to connect directly to your router via network cable (recommended), skip ahead to step 30. If you plan to use wireless settings, follow the next few steps to add wireless configuration
- Unplug and plug back in your SD card reader into your computer.
- Navigate to your new HASSOS directory.
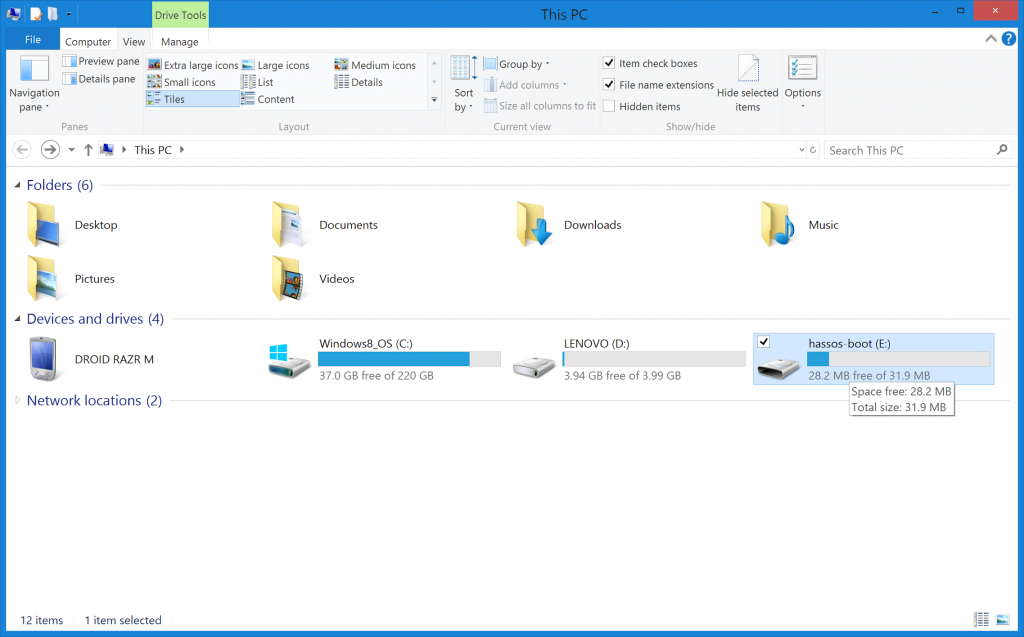
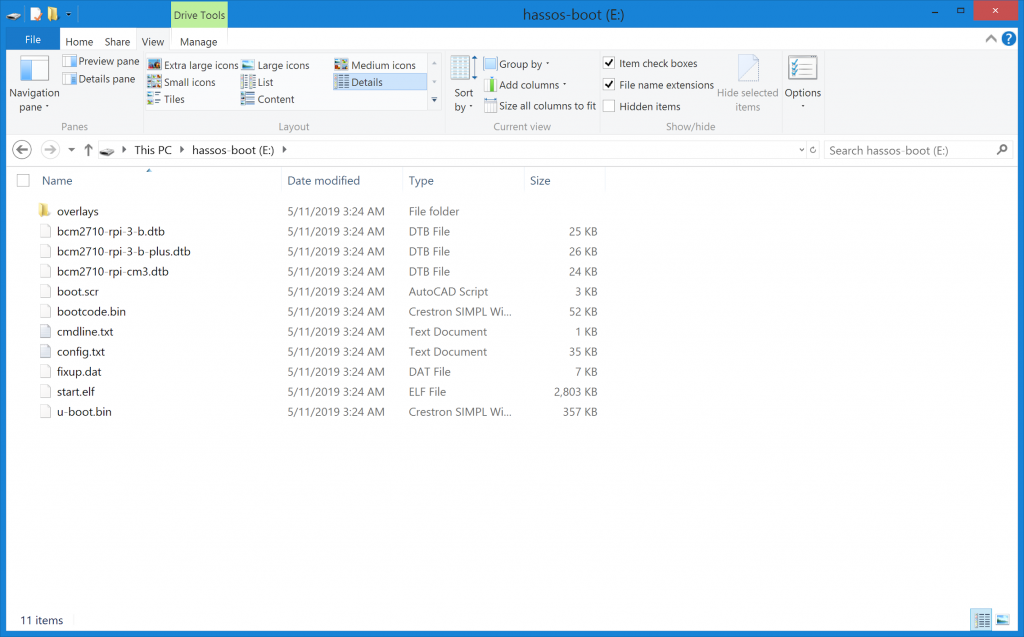
- Create a new folder, “CONFIG” and open it.

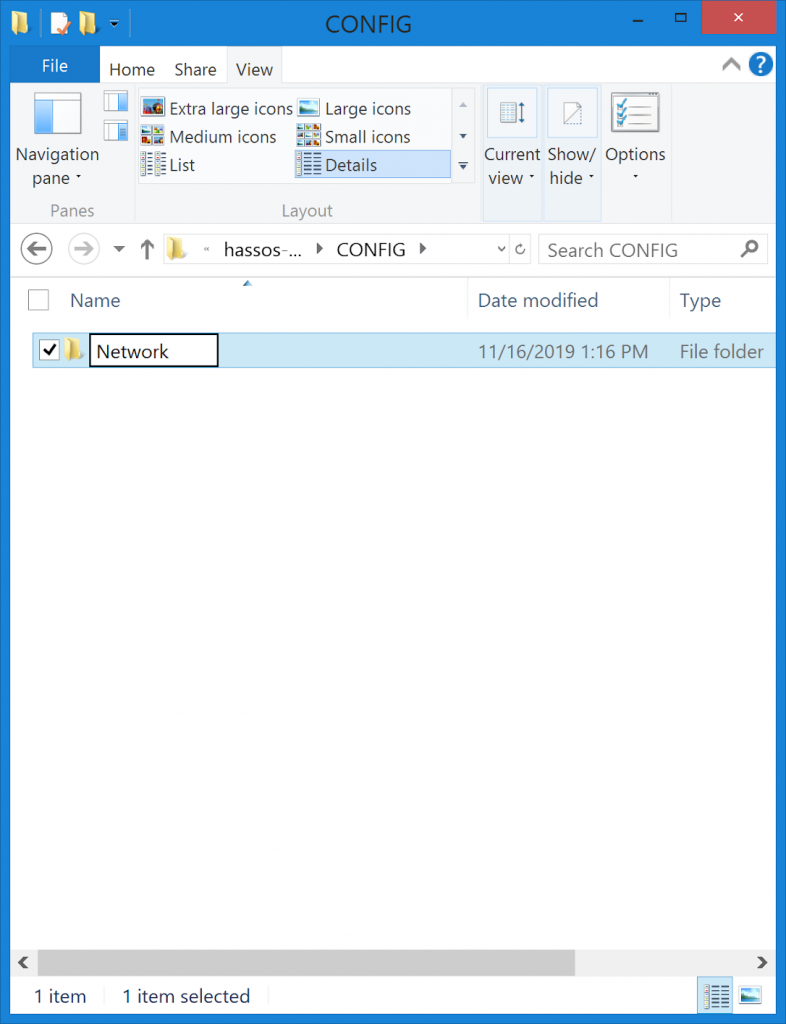
- Create a new folder “Network”, and open it.
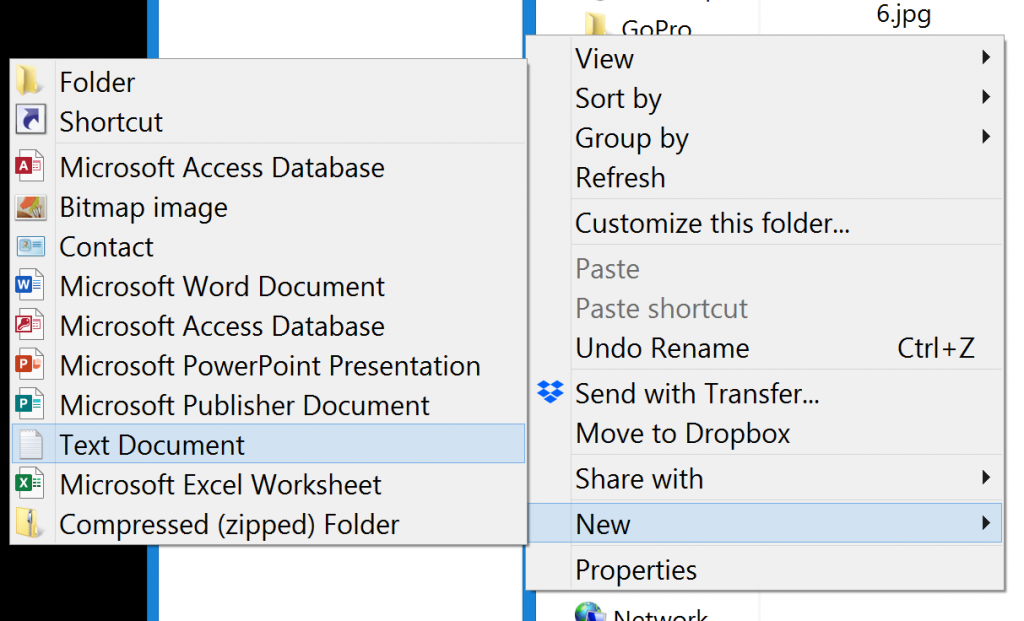
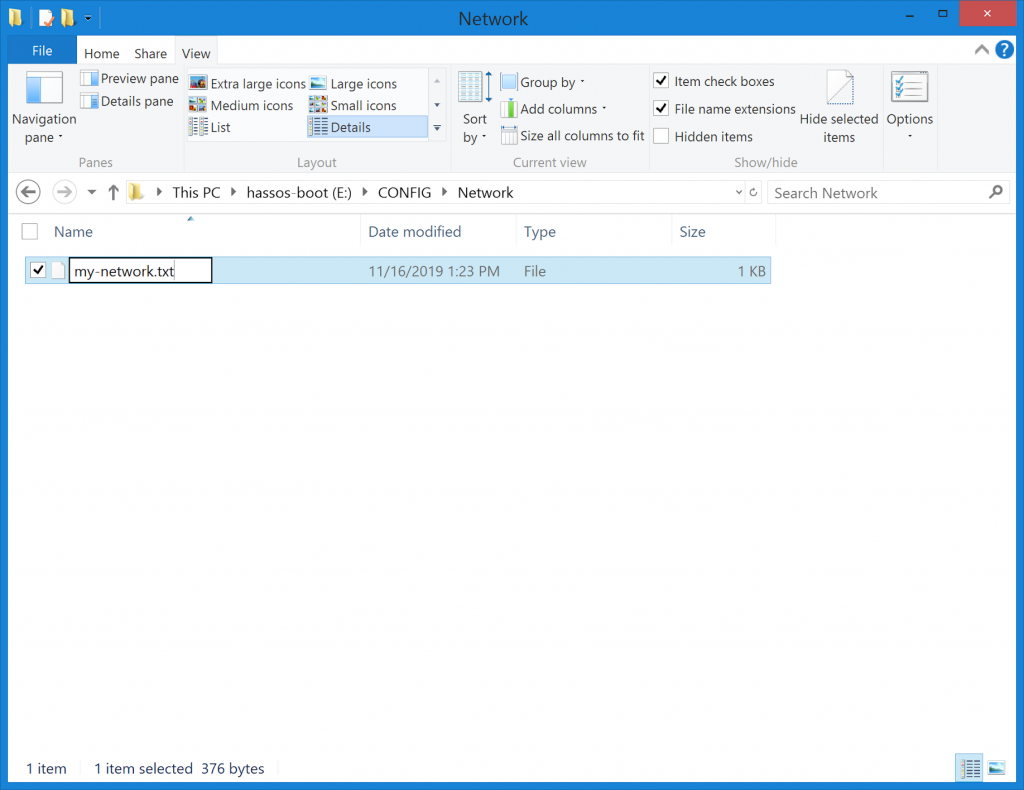
- Right click in the new folder and create a new text file name “my-network.txt”, and open it
- Go to https://www.uuidgenerator.net/ and get a unique uuid.
- Paste UUID here:
- Enter your Wireless Router Name:
- Enter your WiFi Password: Note!We don’t store any of this. Data is simply transferred to the block below. If you don’t feel comfortable adding it here, you can edit your file after you paste it
- Copy the below block and paste it into your new “my-network.txt”
- Alternatively, you can use our LAN Configuration Tool
[connection]
id=my-network
uuid=Unique UUID
type=802-11-wireless

[802-11-wireless]
mode=infrastructure
ssid=MY_SSID
# Uncomment below if your SSID is not broadcasted
#hidden=true

[802-11-wireless-security]
auth-alg=open
key-mgmt=wpa-psk
psk=MY_WLAN_SECRET_KEY

[ipv4]
method=auto

[ipv6]
addr-gen-mode=stable-privacy
method=auto
- Save your text file and close out of notepad.
- Navigate back to the network folder you just created and ensure that “File name extensions” is enabled.
hassos-boot/CONFIG/Network/ 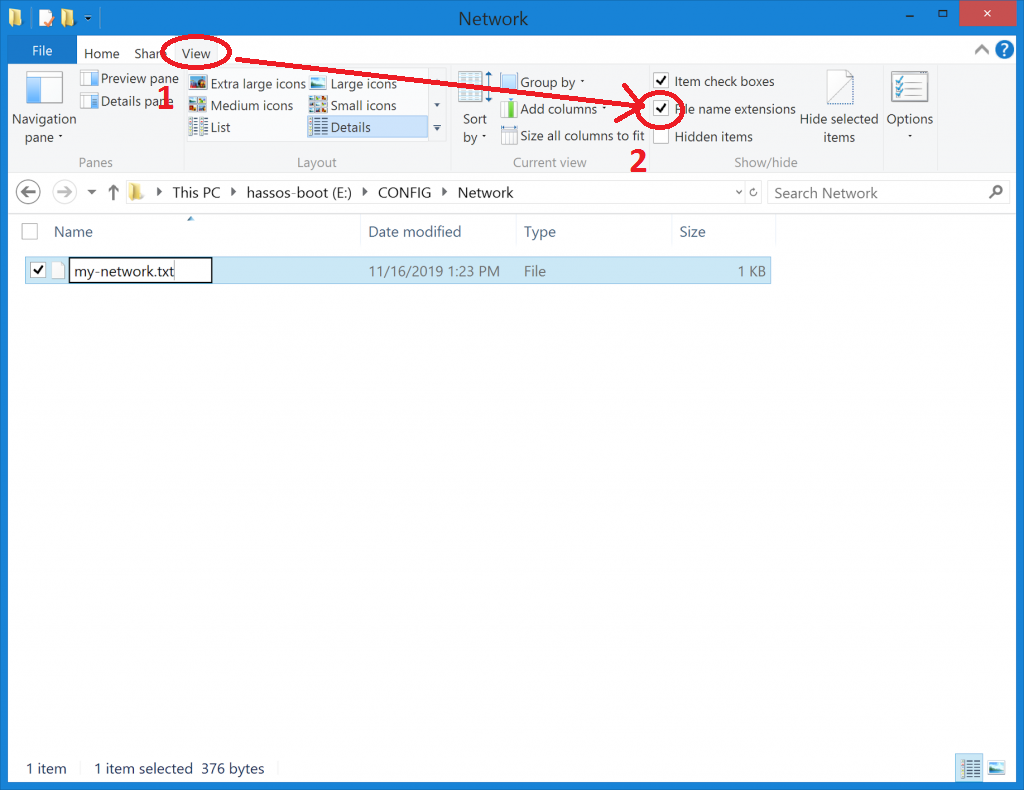
View -> Filename extensions
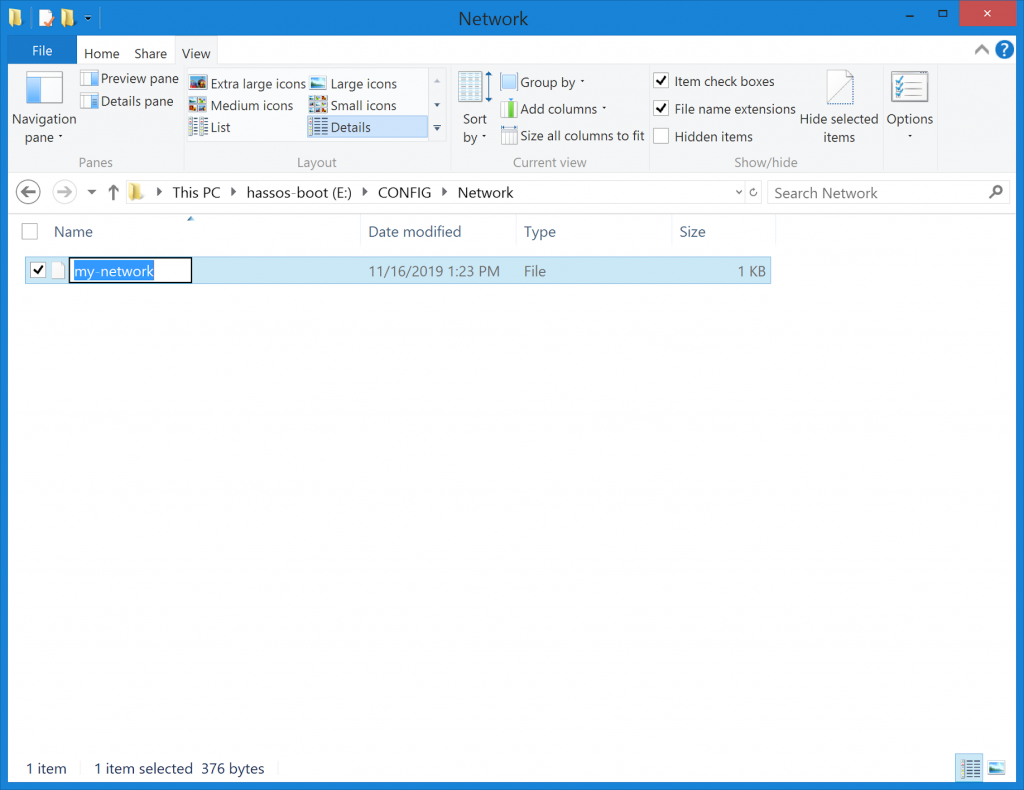
- Rename “my-network.txt” to “my-network” (no extension) and hit enter.
NoteIf you need to revisit your configuration file, you can always right click the file and edit with notepad. Notepad will see it the same as if it were a .txt file.
- “Safely Remove” your SD Card from your computer
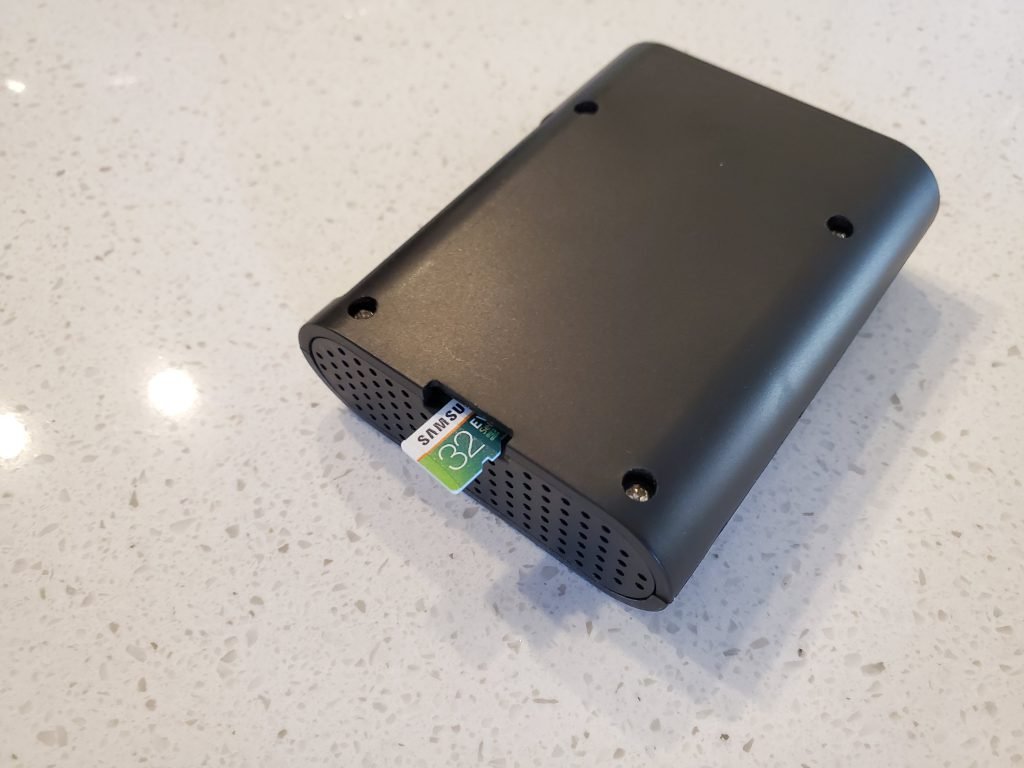
- Insert SD into your Pi

- Plug in your pi to its power supply.
- Wait about 2-3 minutes for you Pi to register and connect to your network.
- Launch your preferred web browser and navigate to “hassio.local:8123“.
NoteIf your router does not support mDNS, you will need to navigate directly to the IP address of the Pi. You can discover this by going to your router settings and looking at attached devices. This should show up as HASSIO. It would be something like 192.168.1.5. Be sure to add “:8123” to the end. This is the port number that HASSIO is hosted. - If everything worked, you should see a page telling you that Hassio is setting itself up. This process took me about 10 minutes, but it could take longer.

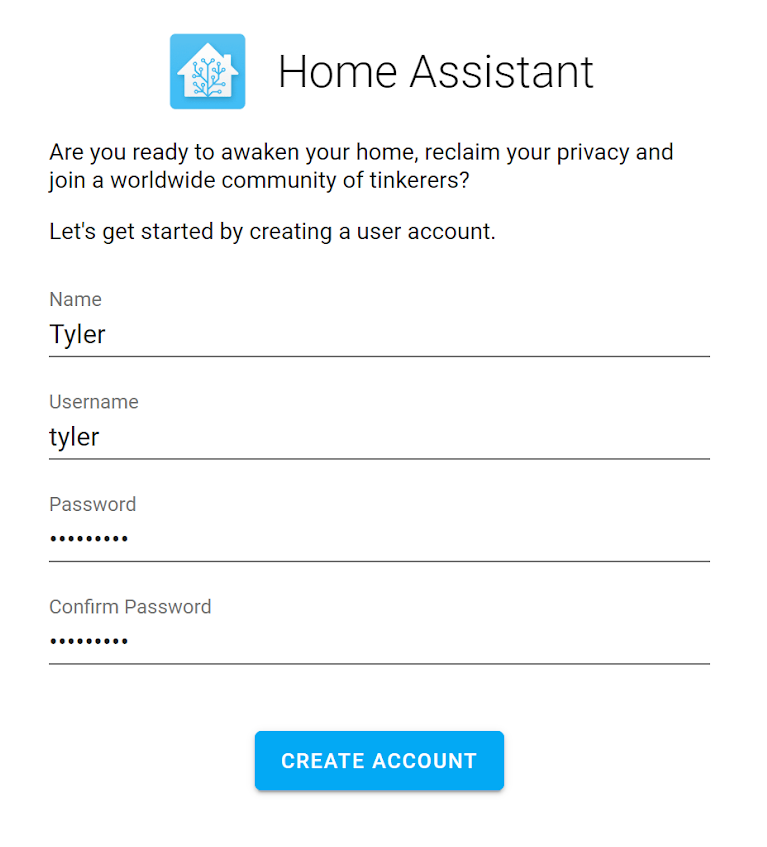
- Once the install is complete, the site above will go down for a minute or two, then the config screen will come up.
- Set your name, username, and password. Be sure to make a secure password, this device will control your whole house!
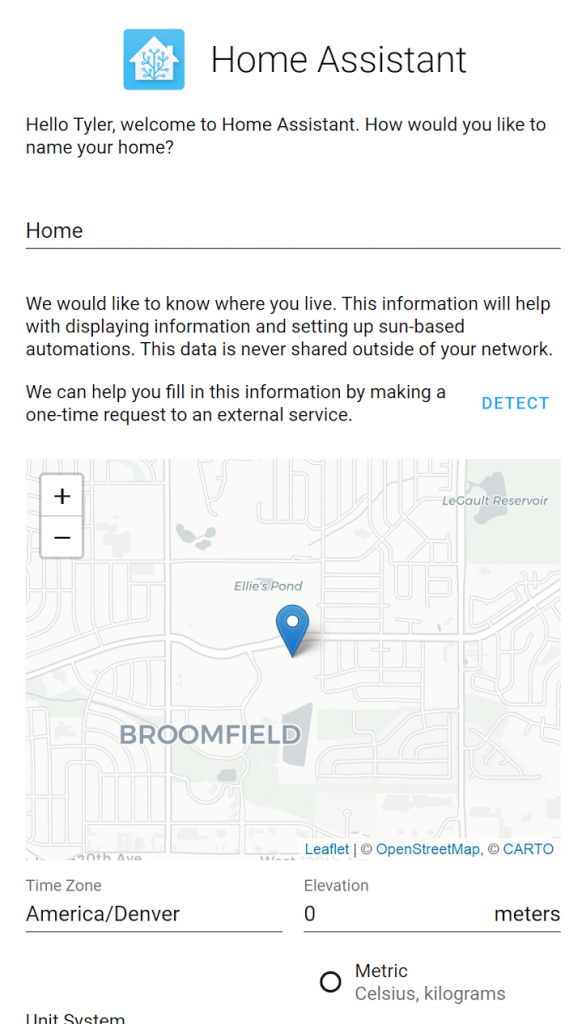
- Set your home address, preferred units, and time zone.
- Your Home Assistant might find some devices on your network automatically. It will ask you if you want to set these up.
- Here, you can also select additional devices you might have. Simply click “more”, find your device, and follow the instructions to add.
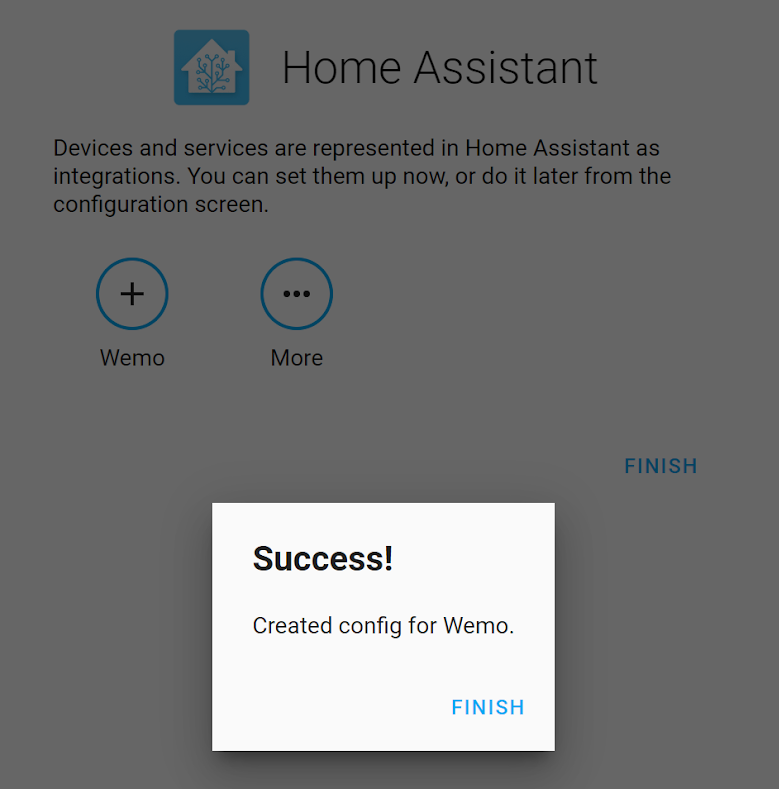


- Go ahead and check out what is offered. You can revisit all of this again later.
- Once done, click “done”.
- You’re all set! Once your homescreen loads up, you will be asked if you want to save your log in.
Note!This will save you time in the future, but will keep your Home Assistant logged in on this computer indefinitely. Only Save Login if you trust everyone that has access to this browser.
Your Home Assistant is ready for you to start configuring! You can learn what kind of devices your new smart home can work with by checking out Home Assistant’s list of supported components. Here you can learn how to add each to your system, which consists of edition your configuration file, which I will cover in the next post.
If there is anything I missed or if you want to see me cover something in particular, leave feedback below!
[…] Previously, I wrote a guide on how to get started on Home Assistant, an open-source, home automation platform that puts local control and privacy first. This guide is how to expand upon this build to create an all-in-one controller and touch panel using Tileboard. This guide will take you from scratch and end with a touch panel that can control (almost) all devices that are connected to your Home Assistant, including Hue smart lights, smart switches, and your media center, depending on how extensive your smart home is. […]
Great and easy to follow guide, thanks mate!
I’ll be starting my home automation soon and these guides really help
Thanks Richard!
I’m actually looking for feedback on which tutorial to write next. I created a quick poll if you want to vote on the next one. (Link)
Good luck with the build!
[…] guide is designed to expand upon an already existing Home Assistant installation. I am also going to assume you have a decent understanding of Lovelace and it’s […]